Showing posts with label sewing. Show all posts

Saturday, July 16, 2011

From Dress to Tote

Some of you may remember me telling you about this dress . . .


that I used to customize this journal . . .


and how I wanted to use more of the dress fabric to make a tote for my daily reading and writing books. Well, last night and this morning, I got that task checked off my summer to-do list!

I was inspired by this bag -- which I think is genuinely vintage, and which I love, but is falling apart. (Yes, I plan to repair it ;)


I don't know what's inside the vintage bag to give a bit of frame to the top, but I decided that the bottom part of two plastic hangers (I pitched the top parts) would give me the firm but flexible structure I needed:


I used these nifty tools I found on DH's workbench to cut the hangers. We'll call them "cutters" :) The black plier-like ones did the job easily, but I used the blue-handled ones to smooth the cut. I might not have needed the latter if the former were good and sharp -- which they weren't.

See the nice, sharp "mouth" there? It took away the sharp ends on my plastic rods.


It took me a while to figure out how I would gather the fabric so that it fit on the supports (I didn't want to fuss with a lot of hand sewing and gathering) -- and then I had the genius idea of using some elastic that I found in our stash of stuff:

 I've never sewn with elastic before, so I just winged it -- and it seemed to work :) All I did was stretch the elastic as I sewed, and then I folded that elasticized edge over  and sewed it down to create a pocket into which I put my hanger-bottom-plastic-rods (like the pocket you'd put a curtain rod through on sheer curtains).

 However, I guess the elastic wasn't stretched enough -- or wasn't elasticy enough -- because the sides of the bag drooped over the edges of the hanger rods:


So, I hand-stitched a double thread across the top of each side to make it all tighter (ya -- I had to resort to using my hands -- so I probably could have skipped the elastic and just hand gathered the fabric -- but I was worried the thread might break with use) -- and that seemed to do the trick! :)


I made some tube handles which I stitched down each side to make them flat:

 Once they were attached to the bag with the machine at the bottom of each handle, I had to hand stitch the top of the "pucker" (for lack of a better explanation) to the handles to make them more secure since the rods inside prevented me from using the machine (I was afraid to do it with the machine before putting in the rods lest the rods would then be blocked. If I were a more careful sewer, it probably would have worked!) :


And here we have my new tote!!!!!


I didn't have to mess with lining because the dress was already lined, and I just left that lining in place, basically just using the whole bottom of the dress for my bag :) It means the inside of the bag has some seams -- but I'm OK with that. (This photo shows the back seam of the dress and the dress hem.)


The side seams were the original ones on the dress -- I didn't sew them at all. Below is the inside front of the dress, also showing the hem.) But when all that is inside the bag -- who cares? :)
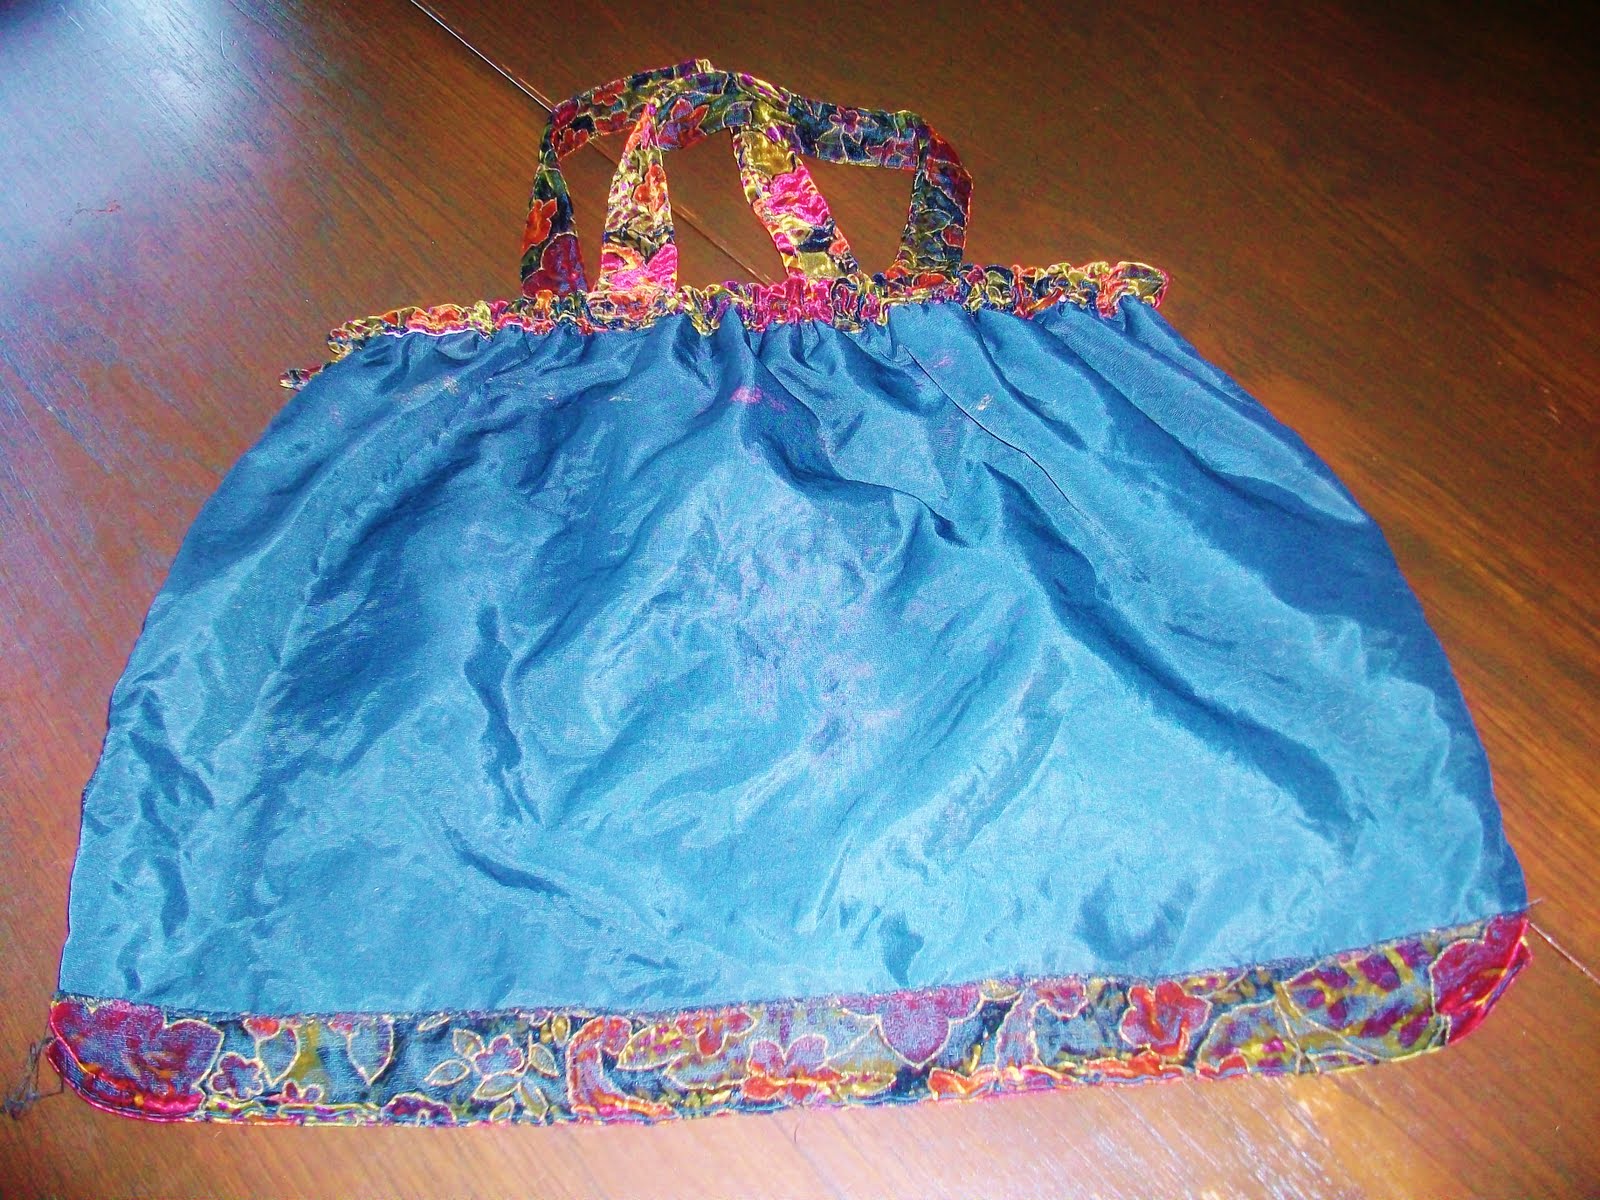


It's actually a lot bigger than I imagined -- but that's OK, too -- it holds lots!

Now my new journal -- which I love -- has its own tote -- which I also love! They make my mornings with God that much more enjoyable because they remind me of the Creator in me -- alive and working to make ME something pleasing in His sight :)


So -- that old dress that had lots of love and wear has a new lease on life :)

Have you transformed anything from your wardrobe lately? Seriously -- what could you find in your closet that is begging to be made into something different? Try it -- it's lots of fun!

I shared this post at:


Sunday, May 8, 2011

Top to Tote


So -- I was gifted this top that was kinda fun but really didn't fit or suit me as a top. Sew -- ;) I sewed  across the bottom, knotted the sleeves . . .


. . . used those hanger-string-thingys on the top to create a bit of shape . . .


. . . and made myself a new little tote bag:


Not bad for 10 minutes work, eh?!?!?

While I was doing that, DD9 and DS4 wanted to paint rocks -- so that's what they did :)


And DD13 was industrious in the kitchen making this yummy-looking baked brie with strawberry jam and dijon mustard:


Have you found any new uses for old clothes -- or rocks? :)

I linked this post to:


Friday, January 28, 2011

To Recycle and To Freecycle

It's a fact: I have a really hard time throwing out art work -- even if it's just scribbles of ink or paint. And I've learned that children really do take offense if these "masterpieces" are not valued -- even if they were just whipped up on a whim.

So I have decided to look for ways to recycle art work -- my own and my children's. When I altered my journal  , I used a drawing that I'd done a while before and didn't really have a "purpose" for. Recently, I had the idea (or maybe I read it somewhere -- I lose track sometimes!) to turn some children's art into note cards. There's a thank you note that I've been intending to write, and so I recycled one of DS4's paintings. (I asked first. The original piece that I intended to use was too special to him -- "I don't want you to cut that. It's my creativity," he told me with a quivering lip.)


The envelope is reminiscent of the fancy envelopes DH and I used to exchange while we enjoyed a long-distant relationship. We rarely sent a "plain" envelope -- they were always made from something unusual, or decorated with art work and cut-outs. All I did here was pull apart a "real" envelope, trace it, cut it out, and adhere the sides with double sided tape -- which I'll also use to close it. I should probably wait until the recipient has received this before I post it -- but I'm afraid I'll forget about it once it's in the mail!

That was a quick job, and since I was in the art studio, I decided to take action on a plan that I've had for quite some time -- to turn pretty remnants of fabric into tablecloths. I apologize for the less than lovely photographs -- but my goal was simply to show you that I took an unmeasured piece of fabric, hemmed the edges, and lay it on the table. Easy peasy:) DS12 entered the kitchen and said -- "Let me guess -- we're having spaghetti and meatballs." It took me a minute to process the comment, since it was well past dinner time; apparently the tablecloth reminded him of an Italian restaurant! :)


I've mentioned before that I'm so not a sewer -- but I can deal with lines and hems that don't really matter -- as in this tablecloth. I'm quite tickled with the result and look forward to making more because I've grown quite fond of setting a pretty table whenever I can -- and a tablecloth is always a great thing with which to start.

Now, before you get concerned about the cost of such creativity, I wanted to tell you that the fabric for this cloth -- and the cloths of the future -- all came from Freecycle. Have you heard of it? We have offered and received all manner of useful items that might otherwise have found their way into a landfill: clothes, shoes, boots, dehumidifiers, CD jewel cases, furniture, technological devices (including computers and their accessories), sports equipment (including skiis, skates, helmets, and soccer shoes), an antique room divider  -- and the list could go on. While it has the potential to "feed the need for stuff," it is also a frugal way to support creativity.

Have you acquired anything fabulously frugal via freecycle?
Have you found any creative ways to recycle art? Do tell!

Sunday, September 5, 2010

"Epic" Lunch Bag

Well, it's that time of year again, and this time around, DD13 finds herself needing a lunch bag. She and her dad were grocery shopping one day and purchased a bag of basmati rice -- a new love of hers, especially if it is accompanied by Indian food. They noted that the burlap rice bag could be transformed into an awesome lunch bag. Well, a tote bag is exactly what I envisioned when I saw the rice bag, too! So I asked if I might have the honours of creating the bag. I couldn't find any specific online tutorials, so today, I set to work just winging it  . . .

DD13 chose the fabric on the left because it reminded her of her MSN theme, and there was red to go with the red in the bag -- oh, and my observation -- pink to go with the colour in her hair ; -) So, we started with these:


I basically followed the same steps as I did for my journal tote bag, except that I wanted the lining to be wipeable. I considered using an old tablecloth for the lining, but the selection in our home was limited to ones that have already been recycled as art tablecloths, and are therefore covered in paint. But then I had the rather brilliant (if I do say so myself) idea of using self-sticking vinyl to protect the fabric on the inside of the bag! So, I took this, which I always have on hand from the dollar store:


. . . and just lay my piece of lining fabric face-down on it, then trimmed the excess vinyl:


Voila! I had vinyl covered fabric!


At this point, I was on a roll, so I decided I'd make a little pocket for the inside of the bag. I didn't want to pin it and make holes in the plastic, so I used some easy-to-see, decorative tape to keep it in place while I sewed (I didn't worry about finished edges on this pocket, since it had the vinyl to keep it neat, and it wouldn't be very visible anyway):


Pretty nifty, eh?


At this point, I should have sewed on the velcro that I wanted to use so the bag could be secured shut. However, I was so thrilled by how everything was working out that I forgot, and had to do it AFTER I had already sewed the lining together :{ It meant I had to crinkle the plastic a bit more than I would have liked, but it still worked : -)


The biggest challenge was attaching the lining to the rice bag -- the edges of the burlap were quite bulky, and I was afraid that when it was all atached there'd be all kinds of ugly bumps and gathers because of the way the two parts were NOT fitting together. However, it actually worked out pretty well! You'll notice that I added a pocket to the outside, just for fun, with some beads that I thought gave it a bit more of an Indian feel. What do you think?


This is the other side, where I secured the two original handles just as little dangly do-dads:


And here's a (blurry) peek inside the finished bag:


DD13 gave it the thumbs up and said it was an "EPIC lunchbag" : -)


While I was making her lunch bag, she was busy being creative herself. She didn't like the plain white dividers I gave her, so she took some scrapbooking paper and turned these:


Into these:


Pretty spiffy, don't you think? And the dear girl is putting the art tab first because that's her favourite subject! Ha! I love it!
Have you done anything creative in preparation of the new school year? Share about it in a comment!

I'm linking this post to:

The DIY Show Off

Related Posts Plugin for WordPress, Blogger...