Showing posts with label homemade gifts. Show all posts

Wednesday, May 23, 2012

Pass It Forward Art


A few months ago, a friend posted a creative challenge on her facebook status. The idea was that she would make something for the first five people who commented on her status, and they, in turn, would make the challenge their status and create something for their first five commenters -- and so on, and so on, and so on . . . 


Well, it took me a while -- and it has taken even longer for me to post here about it (mostly because I also took so long to mail them, and wanted the recipients to receive them before I posted) -- but I finally came up with something for the three people that committed to the challenge. While I was at it, I created one for a friend that I found myself thinking about as I created the others -- so the result was four creations -- and then something created from those four creations. 


Here are the original four creations -- oil pastel drawings on painted sewing patterns glued to flat canvases -- completed with bible verses chosen specifically for the recipients, and also to complement the pictures:


I actually created this one while having one of my chemo treatments back in March. I am quite certain the nurses thought I was strange -- drawing a picture of a random chicken! But my friend loves chickens -- so it was the perfect image for her :) And this chicken has attitude -- it's not being "chicken" -- so the verse is perfect both for my brave friend and the courageous chicken!

The friend this one was created for likes to walk outdoors and also loves to sing. She lives in the city where trees are not always easy to see, so I thought I'd draw one for her to have in her home. 


The friend for which I made this loves animals -- she has two cats and two dogs. I fashioned this kitty after the mixed media one I made a few years ago found here: http://created2bcreative.blogspot.ca/2010/08/drawing-day.html  . I thought the verse complemented the cat's big eyes nicely :)
This was the "bonus" picture. My friend and I both like birds -- and the verse has special significance for the two of us .


The metallic gold pastel and spritzed spray paint with which each of the pictures is highlighted do not show up well in the pictures, but I like how they look in real life. 


Because I have a tendency to appreciate functional art, I decided to go a step farther and create stationary from the mixed media pieces. I was quite tickled with how they turned out, though the scanner bed doesn't show them off very well.  (A big thank you to my DH who did the actual printing for me.)


A couple of you have participated in a challenge I issued here a few months back. Your little slices of creativity will be off to you soon, I promise! (Phyl, yours is just waiting for me to make it to the post office!)


Have you participated in any creative challenges lately? Why not give it a try?! 



Wednesday, August 24, 2011

Eleventh Hour Gift - Can You Guess What It Is?

One more sleep -- less than eight hours until we leave for the airport -- and I just finished Jeanci's handmade gift. (We're taking school supplies and clothes and things for the household, too.) Of course, it's another altered journal and tote. What can I say? I think I'm in a rut ;)


Anyway, I wanted to make her something pretty, something befitting a princess, since she IS a daughter of the King. My thought is that the tote will hold any precious things she might acquire throughout her days (perhaps our letters?), and the journal will be a place for her to record her prayers or dreams or hopes for the future. I know it's not very "practical" -- but sometimes a girl wants a little impracticality, right?


I hope she likes it . . .


I used foil tape with sparkly stickers to personalize it a bit. It doesn't conform to my usual collage creativity, but this was the inspiration that came as I worked, so that's what I did. I added some jewels for a bit of bling :)


Unlike other journals I've done, this time I borrowed my daughter's idea and covered the spine by making slits in the fabric for the binding. Because I'm too lazy to measure exactly, it meant the fabric didn't lie flat on the covers -- but I like the texture created by the ripples:)


I used a glue stick to adhere the fabric to the journal, so I added more foil tape just for security -- and a little more shine:


I made the tote with matching fabric:


It just has a simple white lining:


Now then -- are you remembering to pray for us???? :)


Sunday, August 21, 2011

Chicken Scratches - Journal and Tote

A journal and/or tote seems to be my gift of choice these days. My friend Shannon celebrated a significant birthday this summer, and I wanted to make her something to commemorate the occasion. She has a bit of a quirk: she loves chickens. So who better to make something for with this fabric????


I lined it with a funky rainbow fabric. In essence, the bag is reversible, though inside out you can see the seam where I sealed the lining after "birthing the bag."


Of course, I also had to make her a matching journal, which I entitled, "Shannon's Chicken Scratches." Silly me -- I forgot to take a close-up of just the journal. But here it is with the tote:


See that little flower on the journal in the stitched square? Guess what it's made from! Can't figure it out? It's the bottom of a plastic egg carton compartment! We use egg cartons as paint holders, and when I noticed a dried one upside down, I couldn't bring myself to throw it out -- it was too pretty :) (Insert DH's guffaw ;) So I turned it into a flower :)


Have you made any gifts lately?
Have you taken trash and made it into a little treasure?


I shared this at:


Monday, March 14, 2011

Spring Notebook

Someone special in our family is celebrating a birthday this month, so I decided I wanted to make a little something to commemorate the occasion. Since I had so much fun making that journal and tote last month but didn't have the same time frame in which to work, I thought I'd try a little notebook -- with a springy theme. Using cardboard, fabric scraps, old art, stamps, and one of the backgrounds from my Artistic Mother projects (which I have yet to finish!), I bound some yellow paper into this little notebook:


Because the cardboard was ugly, I glued the front and back pages to the covers. In retrospect, I wish I'd put some coloured cardstock instead, but oh well!


I left the background undecorated on the back cover, with the exception of a little bird stamp. I think he's such a cute little birdie!


I pulled out my painting from our little "classically creative" project and used it to wrap the gift.


I don't know what the little book could be used for -- grocery lists, phone messages, whatever. I do know that I soon want to make one for myself so I can start counting my God-gifts, like Ann Voskamp.

Do you like little notebooks? What do you use them for? Have you found any fun ways to make your own?

I shared this post at:


Monday, February 28, 2011

Made with Love

If you've been following my blog for a while, you may remember the tote bag I made last year, and the altered journal I made to go with it. I truly enjoyed making them. So, when I learned of a birthday celebration for a young journalist friend, I decided that a journal would be a perfect gift for a journalist -- and a tote to carry it in would be a nice complement to it.

Because this young lady is also an awesome photographer, I decided I wanted to incorporate some of her photos into the project. Facebook provided all that I needed, and with a little conspiratory help from her sister about colours and quotations, I set about creating these:


I started with the bag (making it the same way I did my original tote), the back of which looks like this -- made from the vinyl of the seat of a chair that was beyond repair:


I thought it was a little plain, so I added a binder ring with some ribbons. I couldn't decide which side it looked better on, though. The fun part is, the ribbons can be put anywhere on the handles, or completely removed. I confess I thought the idea was a bit of a stroke of genius, if I do say so myself ;)


I did learn, though, that vinyl can't be ironed! Oops! See those melted bits????:


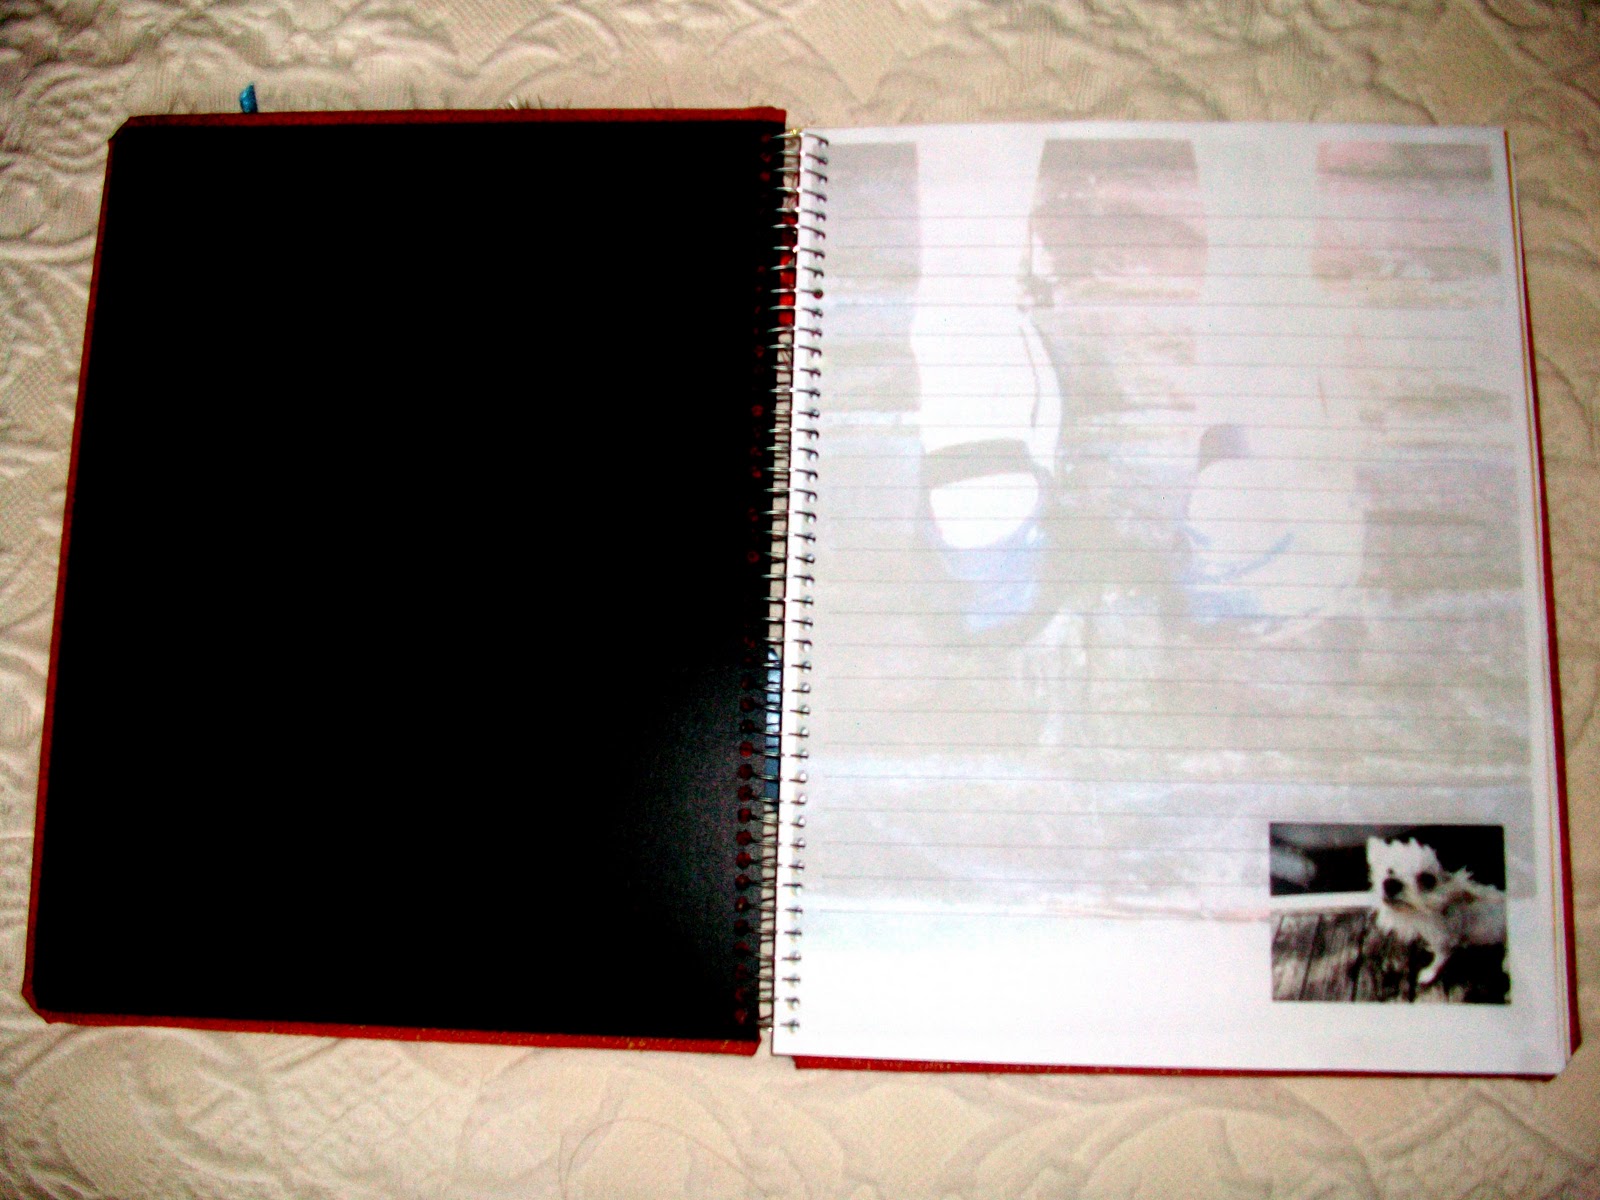
For the journal, I created a watermark with one of the young lady's photos and added lines for her to write on. Then I inserted more of her photos on a number of random pages. Is that not a great, quirky picture of her dog, Little Pete? ;) DH printed the pages for me, and I had them hole punched at a UPS Store.

 I also inserted a number of papers with different designs and textures, including card stock, vellum, and shimmery gold paper.


The hardest part was binding the covers. Because I had used the insides of an old binder and covered them with fabric, NO ONE was able to bind the whole thing for me. I really wanted it to be spiral bound with wire so that it could be folded back on itself. So, I was determined to find a way to do it myself. I started by drilling holes with DH's power drill using one of the pages as a guide for the holes. That worked, but the holes were too small -- I couldn't bind everything together. So I re-punched the holes using my Cropodile:


The challenge was then to keep all the holes lined up while I fed wire through them. I wound my length of wire around a broom handle so it was nicely coiled first -- and I used shishkabob skewers to keep my holes lined up. The wooden spoon handle helped to keep my wire rounded as I moved the skewers along and fed the wire through the holes: 


The results were not perfect, but I liked it better than any Cerlox binding, which seemed to be the only other option -- and that without my handmade covers, too:


So here is the front cover again:


And here is the back cover. You may or may not have noticed that the background fabric matches the lining fabric of the tote bag:


I don't especially like how messy the inside of the cover looks, but I was afraid to mess with trying to glue the plastic covers I'd got (just in case the hard covers didn't work out) to the inside of the covers:


 I guess I was on a creative roll because when I was cleaning up from the project, I found this piece of fabric with a jewel in it that I'd done to try out the GemMatic gizmo I'd recently received as a gift. I decided not to waste it -- and turned it into a matching book mark: 


A little package of mini gel pens thrown in -- and the gift was complete: )


I don't usually enjoy making more than one of anything -- but I'm tempted to make myself a bigger tote and maybe my own journal once my other one is full!

Are there any creative projects you've tried that you've enjoyed enough to make multiples?

I've linked this post to:


Related Posts Plugin for WordPress, Blogger...