
that I used to customize this journal . . .
and how I wanted to use more of the dress fabric to make a tote for my daily reading and writing books. Well, last night and this morning, I got that task checked off my summer to-do list!
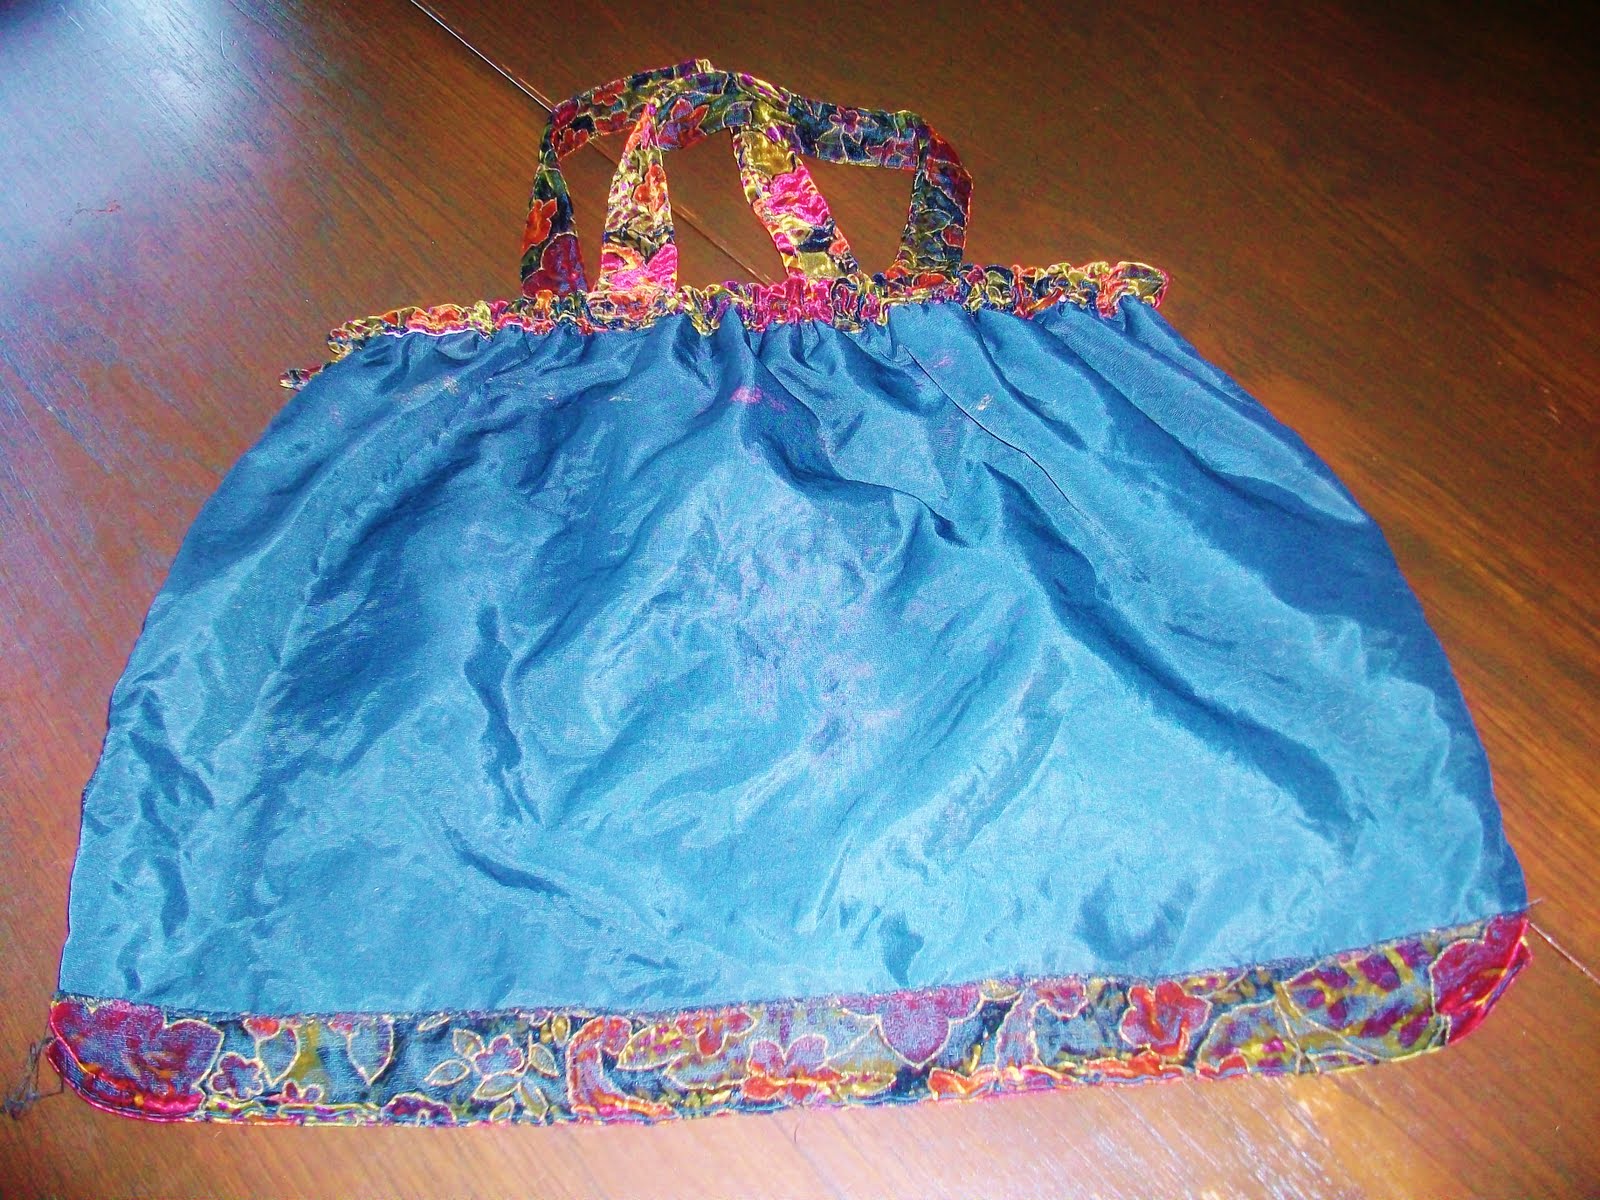
I was inspired by this bag -- which I think is genuinely vintage, and which I love, but is falling apart. (Yes, I plan to repair it ;)


I don't know what's inside the vintage bag to give a bit of frame to the top, but I decided that the bottom part of two plastic hangers (I pitched the top parts) would give me the firm but flexible structure I needed:

I used these nifty tools I found on DH's workbench to cut the hangers. We'll call them "cutters" :) The black plier-like ones did the job easily, but I used the blue-handled ones to smooth the cut. I might not have needed the latter if the former were good and sharp -- which they weren't.


It took me a while to figure out how I would gather the fabric so that it fit on the supports (I didn't want to fuss with a lot of hand sewing and gathering) -- and then I had the genius idea of using some elastic that I found in our stash of stuff:


However, I guess the elastic wasn't stretched enough -- or wasn't elasticy enough -- because the sides of the bag drooped over the edges of the hanger rods:

So, I hand-stitched a double thread across the top of each side to make it all tighter (ya -- I had to resort to using my hands -- so I probably could have skipped the elastic and just hand gathered the fabric -- but I was worried the thread might break with use) -- and that seemed to do the trick! :)

I made some tube handles which I stitched down each side to make them flat:


And here we have my new tote!!!!!

I didn't have to mess with lining because the dress was already lined, and I just left that lining in place, basically just using the whole bottom of the dress for my bag :) It means the inside of the bag has some seams -- but I'm OK with that. (This photo shows the back seam of the dress and the dress hem.)

The side seams were the original ones on the dress -- I didn't sew them at all. Below is the inside front of the dress, also showing the hem.) But when all that is inside the bag -- who cares? :)
It's actually a lot bigger than I imagined -- but that's OK, too -- it holds lots!

Now my new journal -- which I love -- has its own tote -- which I also love! They make my mornings with God that much more enjoyable because they remind me of the Creator in me -- alive and working to make ME something pleasing in His sight :)


So -- that old dress that had lots of love and wear has a new lease on life :)
Have you transformed anything from your wardrobe lately? Seriously -- what could you find in your closet that is begging to be made into something different? Try it -- it's lots of fun!
I shared this post at:


What a wonderful way to personalize your journal...I'm posting about a journal today too! I really like that tote you made too, totally flamboyant.
ReplyDeleteFabulous tote / fabulous fabric! It must have been a GORGEOUS dress - would love to see what it looked like. Thanks for the tutorial - I'm thinking about getting out my sewing machine during this week's heat wave.
ReplyDeleteMe again - I thought I understood what you did but now I'm confused. So a few questions:
ReplyDelete1) how did you cut the plastic hangers?
2) did you only use the bottoms of the hangers or did the other parts get used for something?
3)are the hanger bottoms sewn into the TOP edges of the bag? I'm thinking I would just gather the fabric and stitch it to fit with no need for elastic.
4) am I correct that you lined the bag? Are the seams inside the lining? I think I've got some figuring out to do...
Hope I'm not driving you crazy with my questions, but this looks easy and pretty.
Thank you, B :) (I'm still digesting the "flamboyant" part ;)
ReplyDeletePhyl -- I updated my post in hopes that your questions are answered -- but I'll answer here, too:
1) I used a sharp tool, the name of which I do not know. It's like pliers, but has blades -- maybe wire cutters????
2) Just the bottoms.
3) I made a little sleeve/pocket for the rods, like you'd have on a curtain. As long as you left enough space for your rod to fit in, gathering and stitching would be fine. I wasn't sure I could accomplish that task easily or quickly (can that be done on a machine?) -- that's why I was pleased to think of the elastic :)I was also worried that the thread on any gathering might break eventually, making it all fall apart and droopy again.
4) The seams are inside and visible because I just used the dress as it was, and the lining of the dress was attached at the back seam.
Does that make sense? The questions don't drive me crazy, so if you have more -- ask away :) I'm thrilled by your interest :)
Thanks so much for the additional information. I still think the original dress must have been beautiful, but so is the tote! I love that you didn't even need to sew the sides. Fabulous!
ReplyDeleteAmazing! And beautiful! :)
ReplyDeletePhyl -- yes, the dress was one of my favourites -- but since I don't want it to ever fit me again (I've shrunk ;) and since it was starting to fall apart at the seams anyway (after 16+ years!), I decided the bag was a way to make my enjoyment of it last longer :)
ReplyDeleteAlison -- thank you :)