Some of you may remember me
telling you about this dress . . .
that I used to customize this journal . . .
and how I wanted to use more of the dress fabric to make a tote for my daily reading and writing books. Well, last night and this morning, I got that task checked off my summer to-do list!
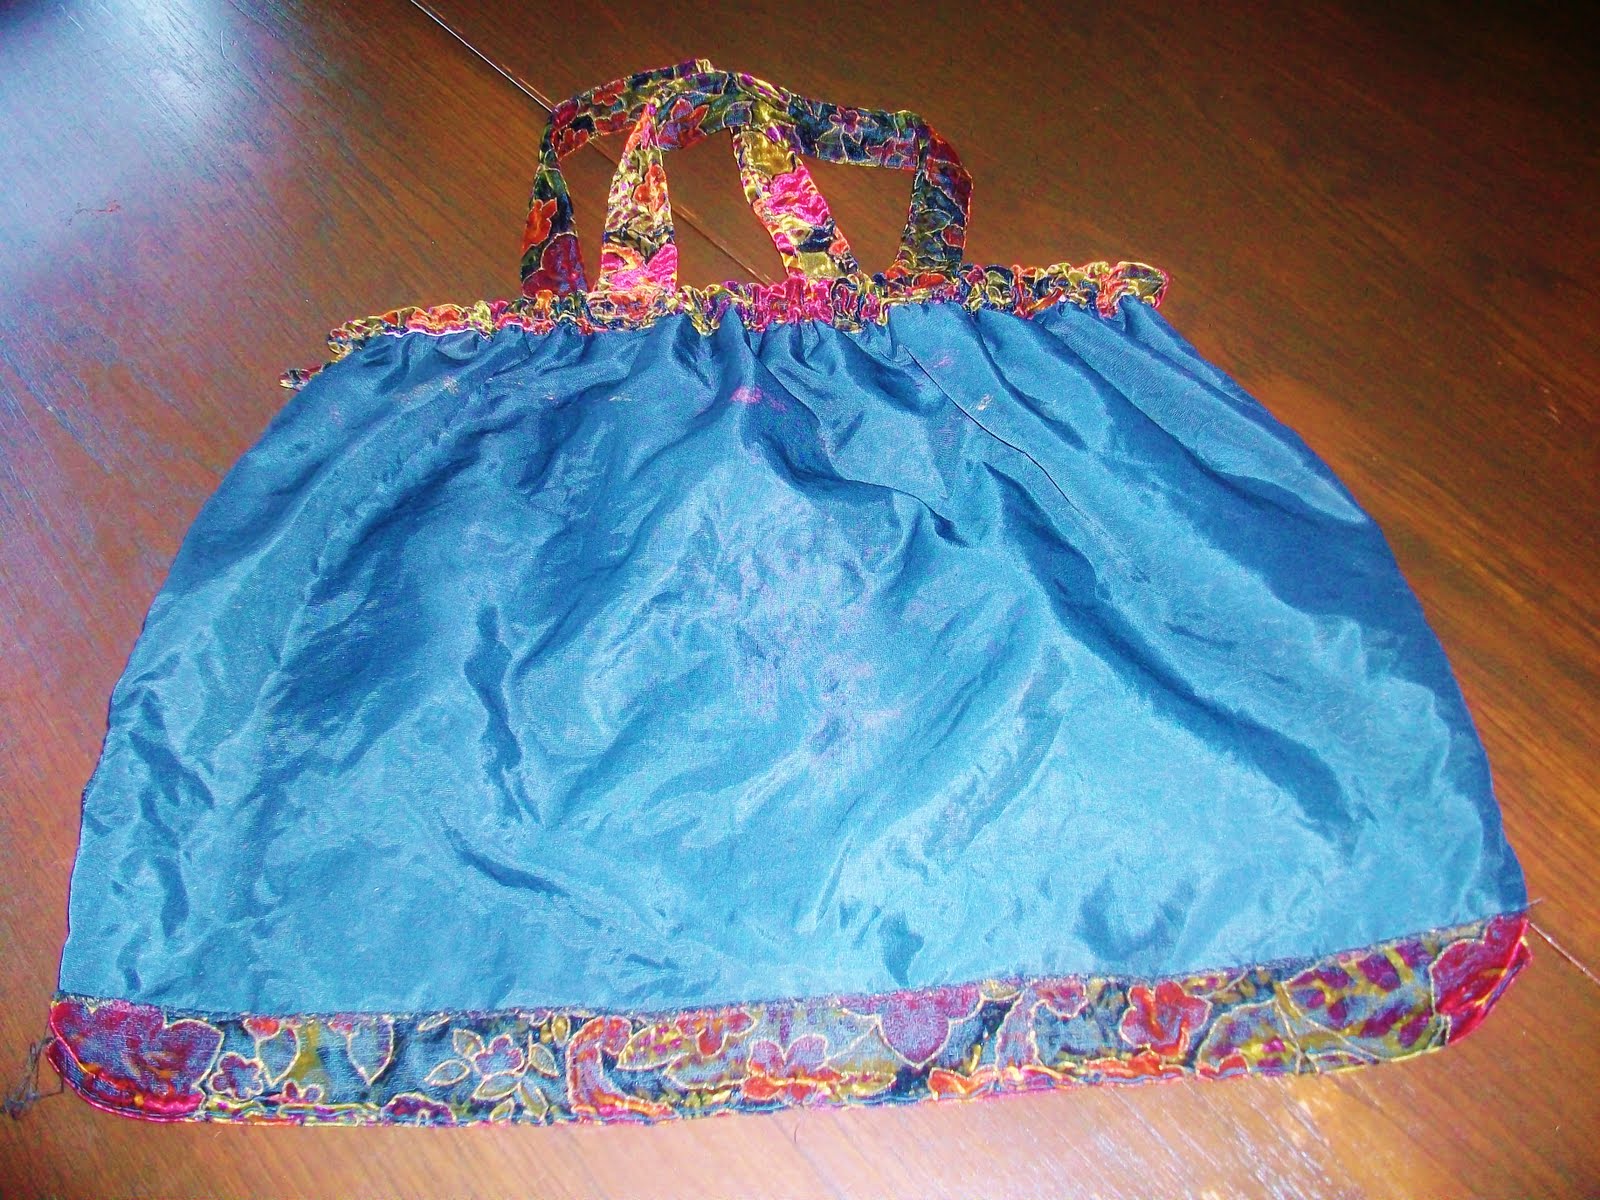
I was inspired by this bag -- which I think is genuinely vintage, and which I love, but is falling apart. (Yes, I plan to repair it ;)
I don't know what's inside the vintage bag to give a bit of frame to the top, but I decided that the bottom part of two plastic hangers (I pitched the top parts) would give me the firm but flexible structure I needed:
I used these nifty tools I found on DH's workbench to cut the hangers. We'll call them "cutters" :) The black plier-like ones did the job easily, but I used the blue-handled ones to smooth the cut. I might not have needed the latter if the former were good and sharp -- which they weren't.
See the nice, sharp "mouth" there? It took away the sharp ends on my plastic rods.
It took me a while to figure out how I would gather the fabric so that it fit on the supports (I didn't want to fuss with a lot of hand sewing and gathering) -- and then I had the genius idea of using some elastic that I found in our stash of stuff:
I've never sewn with elastic before, so I just winged it -- and it seemed to work :) All I did was stretch the elastic as I sewed, and then I folded that elasticized edge over and sewed it down to create a pocket into which I put my hanger-bottom-plastic-rods (like the pocket you'd put a curtain rod through on sheer curtains).
However, I guess the elastic wasn't stretched enough -- or wasn't elasticy enough -- because the sides of the bag drooped over the edges of the hanger rods:
So, I hand-stitched a double thread across the top of each side to make it all tighter (ya -- I had to resort to using my hands -- so I probably could have skipped the elastic and just hand gathered the fabric -- but I was worried the thread might break with use) -- and that seemed to do the trick! :)
I made some tube handles which I stitched down each side to make them flat:
Once they were attached to the bag with the machine at the bottom of each handle, I had to hand stitch the top of the "pucker" (for lack of a better explanation) to the handles to make them more secure since the rods inside prevented me from using the machine (I was afraid to do it with the machine before putting in the rods lest the rods would then be blocked. If I were a more careful sewer, it probably would have worked!) :
And here we have my new tote!!!!!
I didn't have to mess with lining because the dress was already lined, and I just left that lining in place, basically just using the whole bottom of the dress for my bag :) It means the inside of the bag has some seams -- but I'm OK with that. (This photo shows the back seam of the dress and the dress hem.)
The side seams were the original ones on the dress -- I didn't sew them at all. Below is the inside front of the dress, also showing the hem.) But when all that is inside the bag -- who cares? :)
It's actually a lot bigger than I imagined -- but that's OK, too -- it holds lots!
Now my new journal -- which I love -- has its own tote -- which I also love! They make my mornings with God that much more enjoyable because they remind me of the Creator in me -- alive and working to make ME something pleasing in His sight :)
So -- that old dress that had lots of love and wear has a new lease on life :)
Have you transformed anything from your wardrobe lately? Seriously -- what could you find in your closet that is begging to be made into something different? Try it -- it's lots of fun!
I shared this post at: